Work Hours
Monday to Friday: 8am – 6pm
Weekend: 10am – 2pm
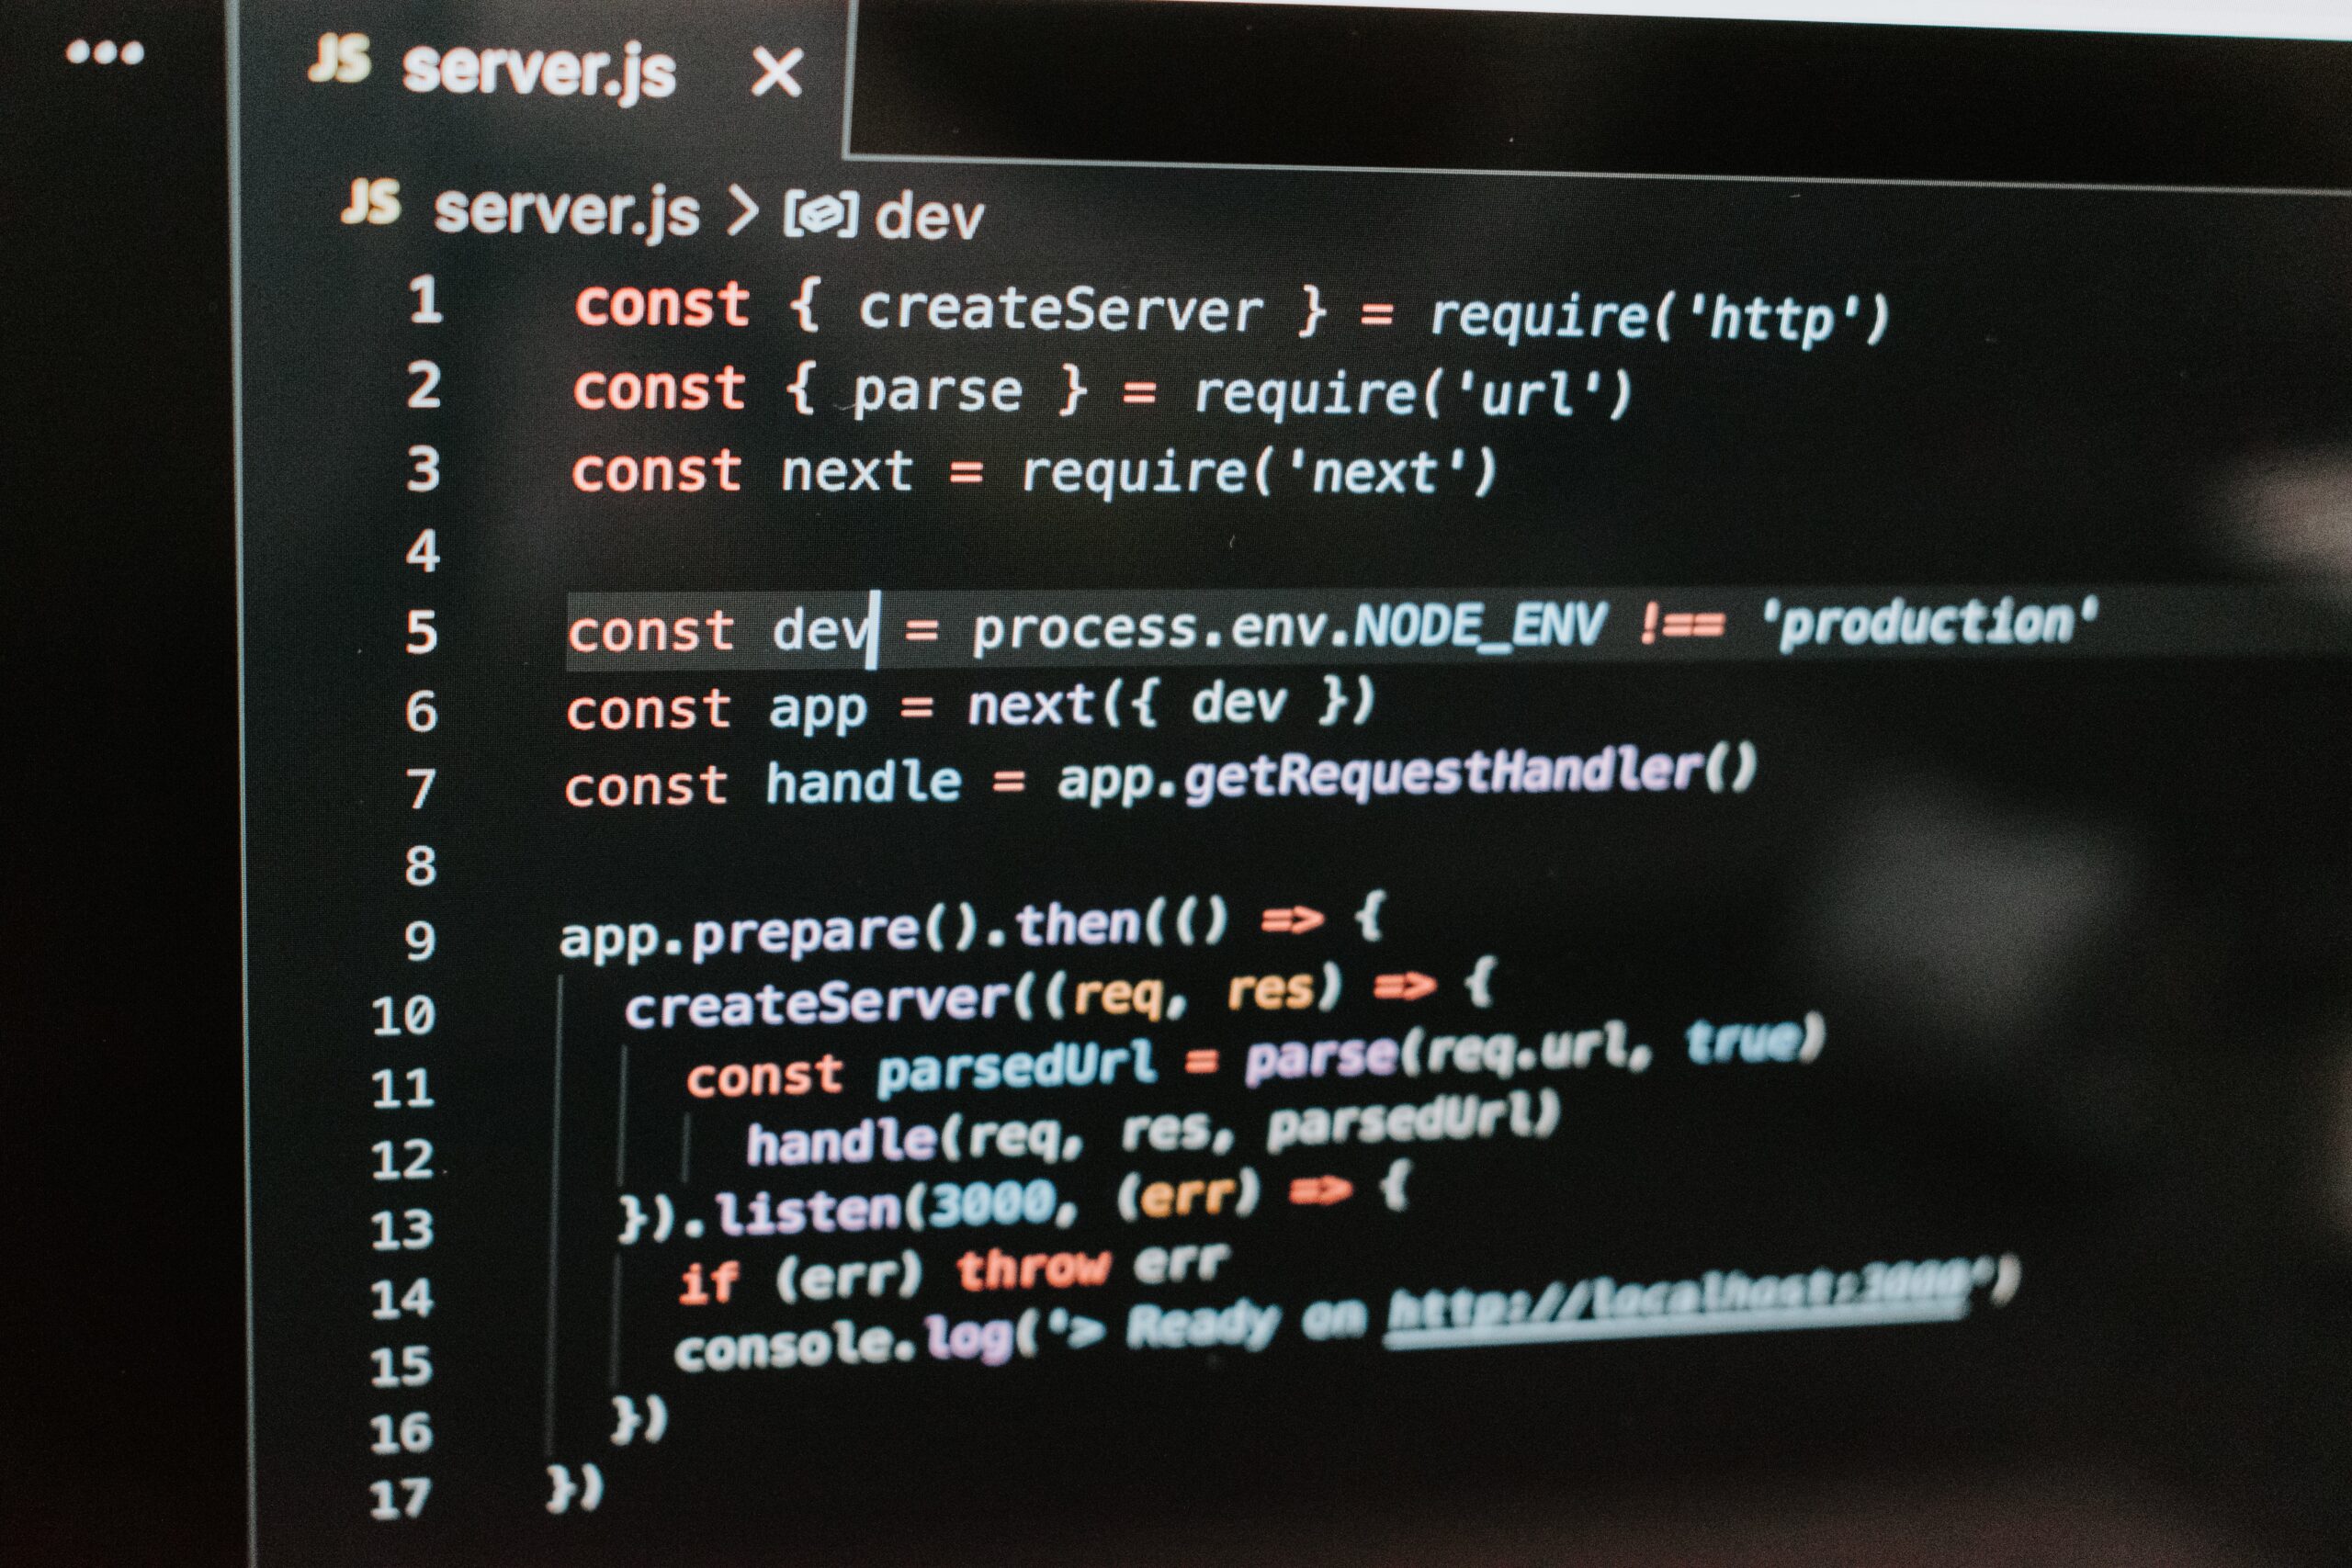
Next.js is a web development framework that makes building websites and web applications easier. It was created to simplify the process of developing React applications by providing a structure and conventions, reducing the need for developers to make many decisions from scratch. It covers routing, data fetching, client and server rendering, caching, building and deploying and many more.
Next.js is particularly useful for creating dynamic and interactive user interfaces with minimal effort. The framework aims to enhance the developer experience by allowing for easy navigation, efficient loading of pages, and seamless integration of data fetching. Overall, Next.js was designed to streamline the development of modern web applications, making it more accessible and efficient for developers.
To create a new project with Next.js, you’ll need to have Node.js and npm (Node Package Manager) installed on your development machine. If you haven’t installed them yet, you can download and install them from the official Node.js website.
Once Node.js and npm are installed, you can use the following steps to create a new Next.js project:
1. Open your terminal or command prompt.
2. Navigate to the directory where you want to create your project using the ‘cd’ command.
3. Run the following command to initialize a new Next.js project:
npx create-next-app@latest exampleprojectThere will be some questions about parameters of create project, I usually answer as that:
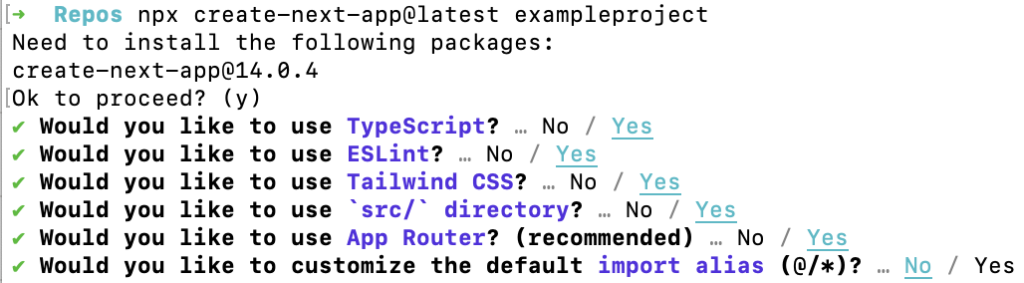
You have always check parameters descriptions at documentation.
4. Navigate to project directory and start the development server by running:
npm run devThis command will launch your Next.js application locally, and you can view it in your web browser by visiting http://localhost:3000
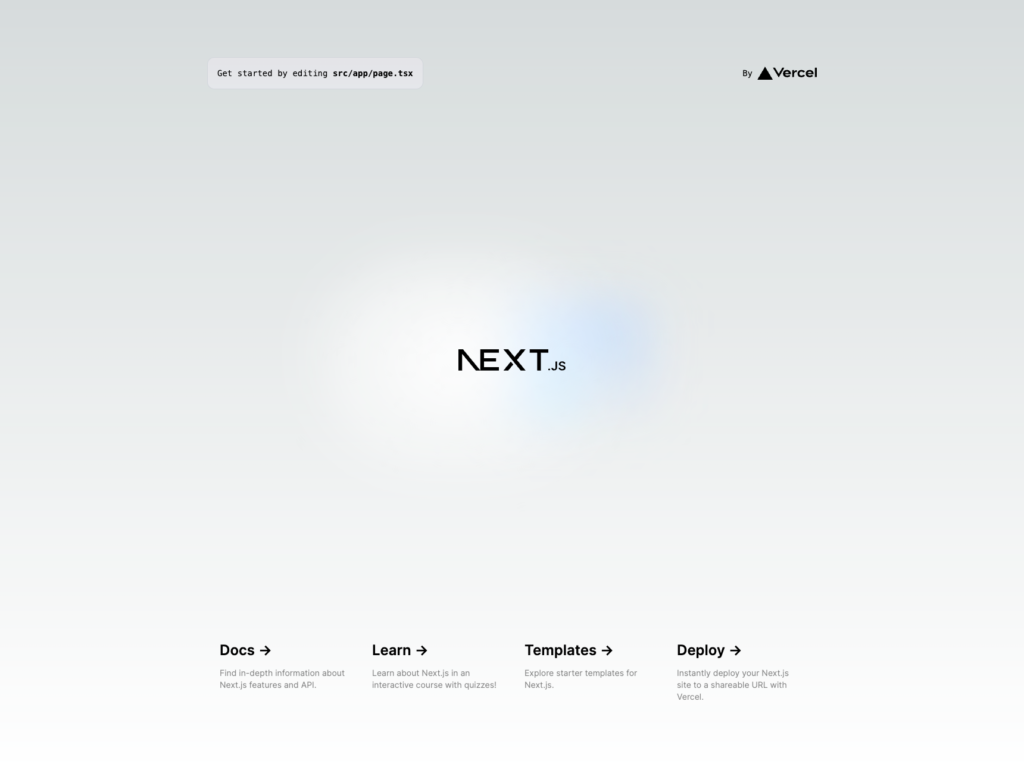
Now, you have a basic Next.js project set up and running. You can start building and customizing your application based on your requirements.
The best of next.js is routing based on folder structure. While creating new application, I had selected to use App Router and use ‘src’ directory. This implies next folder structure:

The most important are two folders:
As you can see at image, I like to have more folders, to have more structured project.
Typically, in app folder, I have only pages and api. All components, used at pages I like to keep in components folder, inside src.
Data related stuff, I keep inside db folder.
Other things, like server actions, auth config, types definitions and other things, I like to keep in lib folder.
App router is conception on crating routes based on folder structure. Everything, you have inside /app folder, will be translated to route paths.
Let’s see at example:
app
|_ page.tsx
|__/about/page.tsx
|__/about/company/page.tsx
|__/about/career/page.tsx
|__/contact/page.tsx
|__/blog/page.tsx
|__/blog/[slug]/page.tsx
It will be resolved to paths:
There are multiple options for folders. Every has own meaning. Like (auth) can group authentication pages into one, to keep it grouped and easier to handle. It, of course, does not affect path. More examples could be found in documentation.
Aside to folder structure, there are defined file conventions.
| File name (.js, .jsx, .ts. tsx) | Description |
|---|---|
layout | Shared UI for a segment and its children |
page | Unique UI of a route and make routes publicly accessible |
loading | Loading UI for a segment and its children |
not-found | Not found UI for a segment and its children |
error | Error UI for a segment and its children |
global-error | Global Error UI |
route | Server-side API endpoint |
template | Specialized re-rendered Layout UI |
default | Fallback UI for Parallel Routes |
For more details, I highly recommend getting good knowledge about this topic in documentation. It is crucial to know it good to get credit of App Router in next.js.
In the next chapter, I will write about layouts, navigation highlighting active link, images and rendering. Stay tuned.
The whole example project can be found here.